Category Archives: Thermostat

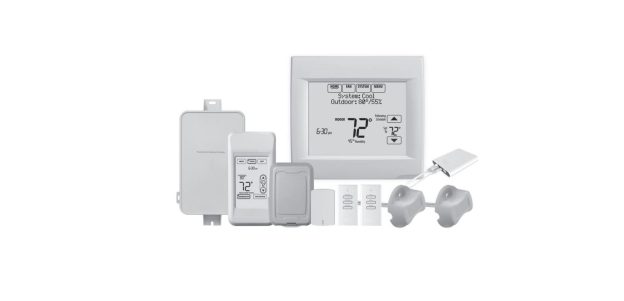
Honeywell TH8320R1003 VisionPRO 8000 Installation Manual

Honeywell TH8320R1003 VisionPRO 8000 Installation Manual

The Honeywell TH8320R1003 VisionPRO 8000 is a programmable touchscreen thermostat designed for residential and light commercial heating and cooling systems. This installation guide covers the wiring, initial configuration, and RedLINK setup required to put the thermostat into service.

Model: TH8320R1003
Series: VisionPRO 8000 with RedLINK
Document Number: 69-2760-11
Document Type: Installation Guide
Pages: 12
Format: PDF
Language: English

The guide covers wallplate mounting, conventional and heat pump wiring, terminal connections, initial installer setup, and pairing RedLINK wireless accessories. It also explains connections to an Equipment Interface Module or TrueZONE Wireless Adapter, installer options, and system testing.

Compatibility note: The TH8320R1003 uses RedLINK wireless technology and does not have built-in Wi-Fi. Internet-based remote access requires a compatible RedLINK Internet Gateway. Check the thermostat model and HVAC wiring before installation.

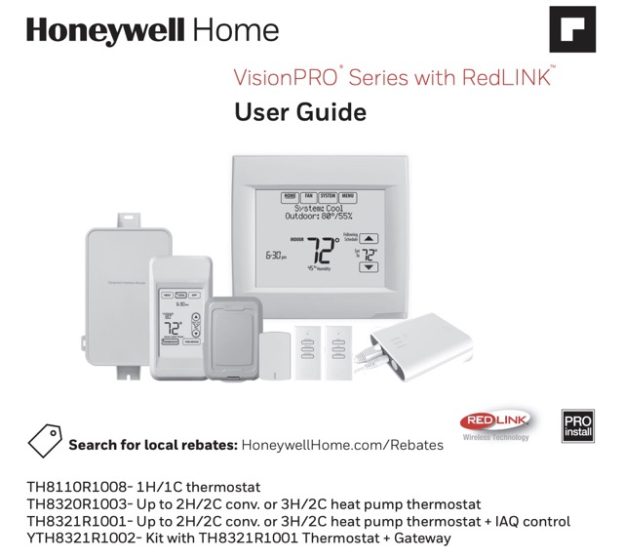
Honeywell TH8321R1001 VisionPRO 8000 Thermostat User Manual

Honeywell TH8321R1001 VisionPRO 8000 Thermostat User Manual

The Honeywell TH8321R1001 VisionPRO 8000 is a touchscreen thermostat with 7-day programming and RedLINK wireless connectivity. This user manual explains how to set up daily temperature schedules, adjust heating and cooling settings, and use the thermostat’s humidity and comfort controls.

Model: TH8321R1001
Series: VisionPRO 8000 with RedLINK
Document Number: 69-2761EFS
Document Type: User Guide
Format: PDF
Languages: English, Spanish, French

The guide covers setting the time and date, selecting system and fan modes, creating 7-day schedules, using vacation and holiday settings, and adjusting humidification and dehumidification. It also explains equipment status, service reminders, and RedLINK accessory functions.

Model note: The TH8321R1001 uses RedLINK wireless technology. Remote access through the internet requires a compatible RedLINK Internet Gateway; this model does not have built-in Wi-Fi.

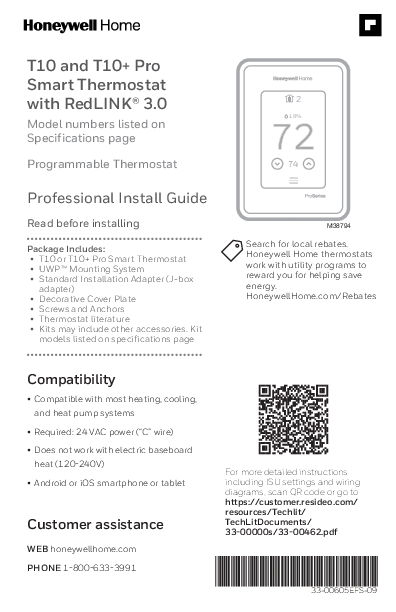
Honeywell Home T10 and T10+ Pro Smart Thermostat Installation Guide

Honeywell Home T10 and T10+ Pro Smart Thermostat Installation Guide

Installing a T10 or T10+ Pro involves more than connecting the thermostat wires. The system must also be configured for the home’s heating and cooling equipment, and any wireless sensors need to be paired correctly. This professional installation guide walks through those steps.

Product: Honeywell Home T10 & T10+ Pro Smart Thermostat
Technology: RedLINK 3.0
Document Number: 33-00605EFS-09
Document Type: Professional Installation Guide
Format: PDF
Languages: English, French, Spanish

Package Includes:

• T10 or T10+ Pro Smart Thermostat
• UWP™ Mounting System
• Standard Installation Adapter (J-box adapter)
• Decorative Cover Plate
• Screws and Anchors
• Thermostat literature
• Kits may include other accessories. Kit models listed on specifications page

Compatibility

• Compatible with most heating, cooling, and heat pump systems
• Required: 24 VAC power (“C” wire)
• Does not work with electric baseboard heat (120-240V)
• Android or iOS smartphone or tablet

Inside the guide are UWP mounting instructions, terminal identification, conventional and heat pump wiring diagrams, installer setup, wireless sensor pairing, troubleshooting, and technical specifications. It also covers connections for humidifiers, dehumidifiers, ventilators, and the T10+ Equipment Interface Module.

Before installation: These thermostats require 24 VAC power and a C wire. They are not designed for 120–240V electric baseboard heating. Check your HVAC system and thermostat model before following the wiring instructions.

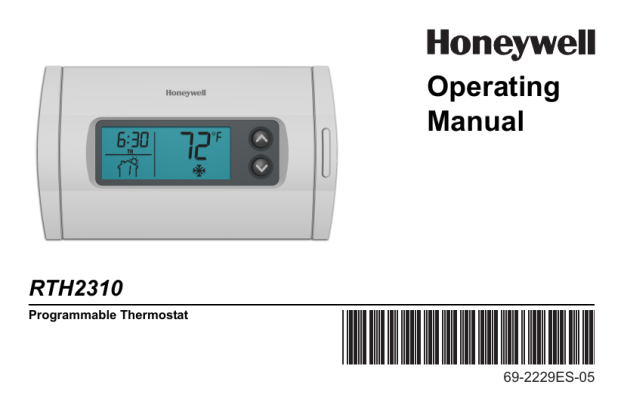
Honeywell Home RTH2310B Programmable Thermostat Operating Manual

Honeywell Home RTH2310B Programmable Thermostat Operating Manual

The Honeywell Home RTH2310B is a programmable thermostat with separate weekday and weekend temperature schedules. This operating manual explains how to set the clock, choose heating or cooling mode, adjust the fan, and program the thermostat for your daily routine.

Model: RTH2310B
Series: Honeywell RTH2310
Document Number: 69-2229ES-05
Pages: 44
Format: PDF
Languages: English, Spanish, French

The manual covers the 5+2 day programming schedule, including Wake, Leave, Return, and Sleep periods. It also explains temporary and permanent schedule overrides, Early Start, compressor protection, filter replacement, battery replacement, and basic troubleshooting.

Check the model number on your thermostat before using this manual. The RTH2310B is a programmable model with a weekday/weekend schedule, not a Wi-Fi thermostat.

Honeywell TH5220D1003 Thermostat Wiring Diagram for Modine Gas Unit Heaters Manual

Honeywell TH5220D1003 Thermostat Wiring Diagram for Modine Gas Unit Heaters Manual

The Honeywell TH5220D1003 thermostat is used in Modine gas unit heater applications, where correct terminal connections are essential for proper heating operation. This 2-page PDF provides the wiring information for connecting the thermostat to compatible Modine heating equipment.

Whether you’re replacing an existing thermostat, checking an older installation, or tracing a wiring problem, this document gives you the connection details without having to work through a lengthy general-purpose thermostat manual.

Document Details

  • Thermostat: Honeywell TH5220D1003
  • Application: Modine Gas Unit Heaters
  • Document Number: 6-436.9
  • Publication Date: August 2009
  • Format: PDF
  • Language: English
  • Length: 2 pages

Includes thermostat terminal connections, equipment wiring diagrams, and related setup information.

This is a specific wiring document, not the complete Honeywell FocusPRO 5000 user or installation manual. Please check your equipment model before ordering.

Download Manual:

Honeywell Thermostat TH5220D1003 Manual

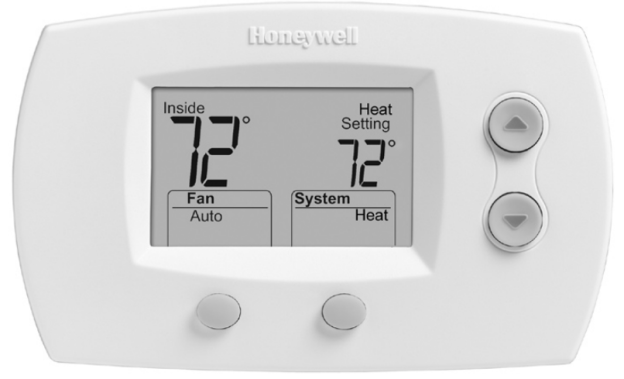
Honeywell TH5220D1029 FocusPRO 5000 Digital Thermostat User Manual

The Honeywell TH5220D1029 is a FocusPRO 5000 digital thermostat with a large display and straightforward heating and cooling controls. This user guide explains how to adjust the temperature, select system and fan settings, and use the thermostat’s main functions.

Model: TH5220D1029
Series: FocusPRO 5000
Document: Digital Thermostat User Guide
Format: PDF
Language: English, French, Spanish

The guide covers temperature adjustment, Heat and Cool settings, Auto changeover, fan operation, battery replacement, and compressor protection. It also explains the display indicators and basic thermostat controls.

The TH5220D1029 is a non-programmable thermostat, so it does not have a weekly heating and cooling schedule. Check the model number before downloading to make sure this guide matches your thermostat.

Honeywell FocusPRO TH5000 Series Installation Manual

The Honeywell FocusPRO TH5000 Series is a non-programmable digital thermostat designed for residential heating and cooling systems. This installation guide provides the wiring information and setup instructions needed to install the thermostat and configure it for the connected HVAC equipment.

Series: FocusPRO TH5000
Models: TH5110D, TH5220D, TH5320U
Document Number: 69-2698EFS-03
Document Type: Installation Guide
Format: PDF

The guide includes wallplate installation, terminal identification, conventional and heat pump wiring diagrams, installer setup options, system testing, and thermostat specifications. It also explains how to configure system type, changeover valve, fan operation, and compressor protection.

Important: This is an installation guide intended for qualified technicians. If you need instructions for everyday thermostat operation, look for the FocusPRO 5000 User Guide instead.

Honeywell Home TH6220WF2006 PRO T6 Smart Programmable Thermostat Install Guide

This installation guide covers the Honeywell T6 Pro Smart Programmable Thermostat models TH6220WF2006 and TH6320WF2003.

Models: TH6220WF2006, TH6320WF2003
Document: Professional Install Guide
Document Number: 33-00392-09
Pages: 20
Format: PDF
Language: English

The guide includes UWP mounting instructions, terminal descriptions, wiring diagrams for conventional and heat pump systems, and installer setup options. It also covers equipment configuration, system testing, and advanced thermostat settings.

This thermostat requires 24 VAC power with a C wire. It is not compatible with 120–240V electric baseboard heating or millivolt systems. Check the equipment compatibility and wiring diagrams before installation.

Honeywell Home TH6220WF2006 T6 Pro Smart Installation Manual

Professional installation guide for the Honeywell Home T6 Pro Smart Programmable Thermostat, model TH6220WF2006. This manual also covers the TH6320WF2003 model.

Brand: Honeywell Home
Series: T6 Pro Smart
Models: TH6220WF2006, TH6320WF2003
Document: Professional Install Manual
Document Number: 33-00392EFS-03
Format: PDF
Language: English, French, Spanish

The guide covers the UWP mounting system, optional decorative cover plate, thermostat wiring, terminal connections, and installer setup. It also includes wiring diagrams and instructions for configuring the thermostat with compatible heating and cooling equipment.

Before installation, check system compatibility. This thermostat requires 24 VAC power with a C wire and is not designed for 120–240V electric baseboard heating or millivolt systems. Installation and wiring should follow the manufacturer’s instructions.

Honeywell Home T9 WiFi Smart Thermostat Installation Guide

Honeywell Home T9 WiFi Smart Thermostat Installation Guide

This walkthrough follows the official Honeywell Home T9 Wi-Fi Smart Thermostat Installation Guide (model RCHT9510WFW2001W, document 33-00421EF), the install-and-start half of the T9 paperwork: what is in the box, the compatibility and electrical check, removing the old unit, mounting and wiring the base, restoring power, joining Wi-Fi and pairing the wireless room sensors, then a short troubleshooting list and the warranty. Two things decide the install: whether you have a C-Wire, and how you pair the room sensors. The steps below track the guide’s own order, and the PDF is linked here. Turn off power at the breaker before you touch any wire.

Download the T9 Wi-Fi Thermostat Installation Guide (PDF)

Table of Contents

Before You Start: Compatibility, Cautions and Tools

The guide’s compatibility section is specific. The T9 works with most heating, cooling and heat pump systems on 24V, and it will not work with:

  • Electric baseboard heat (120–240V line voltage).
  • Millivolt systems, such as gas-fire heaters that run without a transformer.
  • Systems that need wired S terminals for indoor or outdoor sensors; it uses its own wireless room sensors instead.

It also needs an Android or iOS phone or tablet to set up the app, and the electrical rating is 24V at 60Hz, 0.2A.

The guide then lays out cautions and kit. Disconnect power before installing, since this is electrical work; compressor protection is bypassed during the test step, so do not cycle the compressor quickly; and if the old thermostat contains mercury in a sealed tube, recycle it through your local waste authority rather than binning it. At end of life, the thermostat itself is electronic waste. In the box are the T9, a UWP wall plate, screws and anchors, the wireless room sensor and the printed guide. Tools: a Phillips and a small flat-head screwdriver, needle-nose pliers, a wire stripper, a pencil, a drill with a 7/32-inch bit, a level and a flashlight. You also need your home Wi-Fi password, and the C-Wire Adapter if you go that route.

The C-Wire, and the Adapter When You Don’t Have One

A C-Wire (common wire) is required for the T9, because Wi-Fi thermostats draw constant 24 VAC power. The guide says plainly that if there is no C-Wire at the wall, an included C-Wire Adapter can be installed in its place (Step 10). One note the guide repeats: there is no universal wire color for the C, so identify wires by the terminal letter on your old thermostat, not by color.

To see whether you already have a spare for the C terminal, the guide has you check the wires coming from the wall against the terminals in use; a labeled-but-unconnected wire is the usual candidate for C, and the adapter is the fallback when there is none.

Installing the T9: Remove, Mount and Wire

First take the old unit out (Step 2 onward):

  1. Turn off power at the breaker box or the switch that controls the heating and cooling equipment. The guide warns that the thermostat’s own on/off switch does not cut power to the equipment.
  2. Confirm the system is off by changing the temperature on the old thermostat and checking that nothing starts.
  3. Take the old thermostat off its wall plate, leaving the wires in place, and photograph the wiring from several angles; you will reference this image later.
  4. Remove any jumpers (small staples or short wires linking two terminals). Do not reuse them; the T9 does not need jumpers, so keep them with the old wall plate.
  5. Label each wire with the supplied stickers by its terminal letter. Do not label the jumpers.

Then mount and connect. Level the new wall plate over the wire hole, mark and drill (7/32-inch), tap in the anchors and fasten the plate. Connect each labeled wire to the terminal that carries the same letter, and fit the C wire (or the adapter) on the C terminal. For a heat pump, verify there is not a wire on the W terminal of the wall plate, because cooling runs from a call for heat on that configuration. After the wires are in, snap the thermostat body onto the plate and restore power at the breaker.

Wi-Fi, the App and Room Sensors

Once powered, the T9 walks you through joining your home Wi-Fi network and finishing setup in the Honeywell Home app; that needs your Wi-Fi password. The T9’s signature feature is room prioritization: you add the included wireless room sensors, and rooms where motion is detected feed an averaged temperature for the house, while rooms with no detected activity are left out. To pair a sensor, press and hold its Connect button for 15 seconds until the LED turns amber, then on the thermostat go to Menu and Devices and Sensors and follow the on-screen prompts to add it.

Troubleshooting

These are the guide’s own troubleshooting items (p.16), listed by symptom; the advice column is what the guide says to try.

Problem What the guide says to do
Display is blank Check and reset the circuit breaker; make sure the heating/cooling power switch is on; make sure the furnace door is closed securely; make sure the C wire is connected.
Heating or cooling does not respond Go to Menu > System Mode and set Heat (with the target above the indoor temperature) or Cool (below it), then Done. Check the breaker, the power switch and the furnace door, and wait about 5 minutes for the system to respond.
Temperature setting will not change Bring the target inside the allowed ranges: Heat 40°F to 90°F (4.5°C to 32.0°C); Cool 50°F to 99°F (10.0°C to 37.0°C).
Aux heat runs while cooling For a heat pump, verify there is no wire attached to the W terminal of the wall plate; on this wiring, cooling runs from a call for heat.
A room sensor will not connect Press and hold the sensor’s Connect button for 15 seconds until the LED turns amber, then on the thermostat open Menu and Devices and Sensors and follow the on-screen steps to add it.

Specifications and Warranty

  • Model: RCHT9510WFW2001W (Honeywell Home T9 Wi-Fi).
  • Electrical: 24V at 60Hz, 0.2A; a C-Wire or the supplied C-Wire Adapter is required.
  • Systems: most heating, cooling and heat pump systems; not 120–240V electric baseboard and not millivolt.
  • Sensors: uses wireless room sensors, not wired S terminals.
  • Setpoint range: Heat 40°F to 90°F; Cool 50°F to 99°F.
  • Compressor protection: about a 5-minute wait after a change (bypassed only during the install test).
  • Warranty: a two-year limited warranty; Resideo Customer Care at 1-800-633-3991, with setup help at honeywellhome.com/support.

FAQ

Can I install the T9 without a C-Wire?

You can, using the included C-Wire Adapter. It needs 24V common power for Wi-Fi, and the guide’s Step 10 covers fitting the adapter when no C-Wire runs to the wall.

Will the T9 work on electric baseboard or a millivolt fireplace?

No. The guide lists 120–240V electric baseboard and millivolt systems as not compatible, and warns against line-voltage wiring (thick black wires with wire nuts).

Why does the guide say not to reuse jumpers?

The T9 does not need the old jumpers, so the guide has you leave them with the old wall plate and label only the real wires.

How do the wireless room sensors set the temperature?

Rooms where the sensors detect motion contribute to an averaged reading, and rooms with no detected activity do not, so the thermostat follows the rooms you use.

How long is the warranty?

The guide states a two-year limited warranty from the date of first purchase, excluding the battery, handled through Resideo Customer Care at 1-800-633-3991.